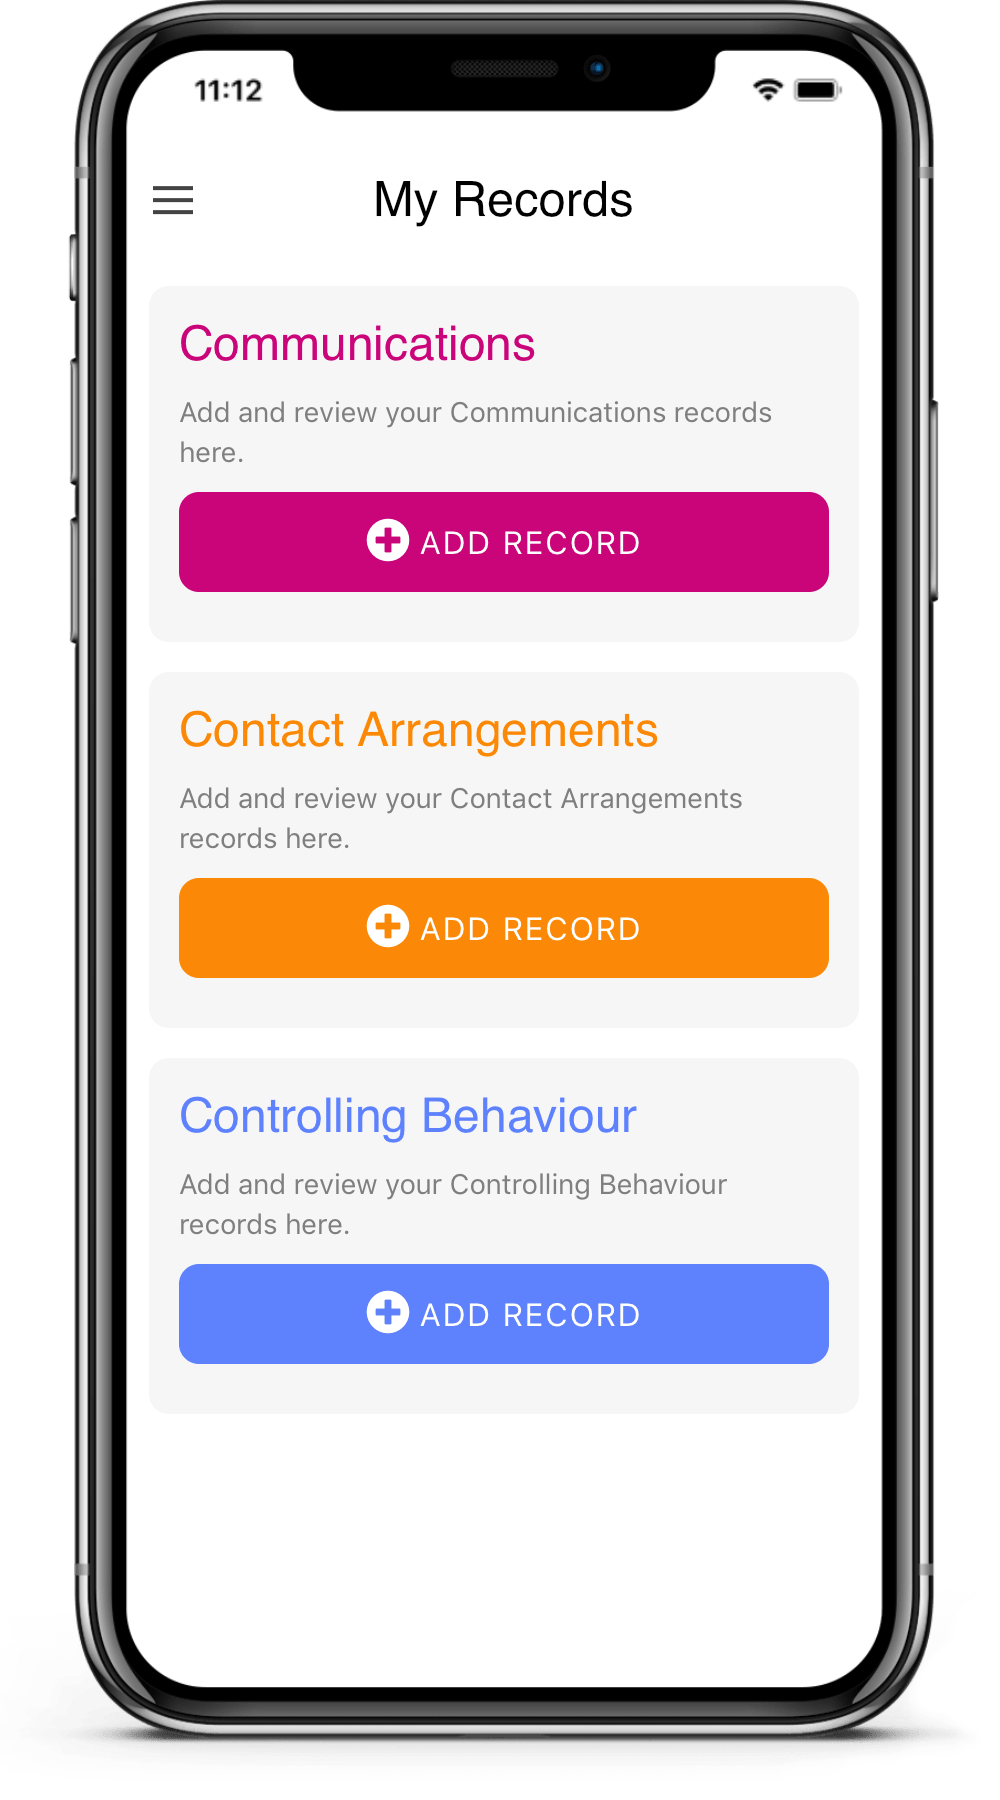
Make a record of each incident as soon as possible after the event. It will be more believed. Ideally upload your record at the place the event occurred to verify your evidence by location. Go to our YouTube channel for guidance about how to make records. Go to ‘Learn More’ for more detail about what makes a case in your situation.
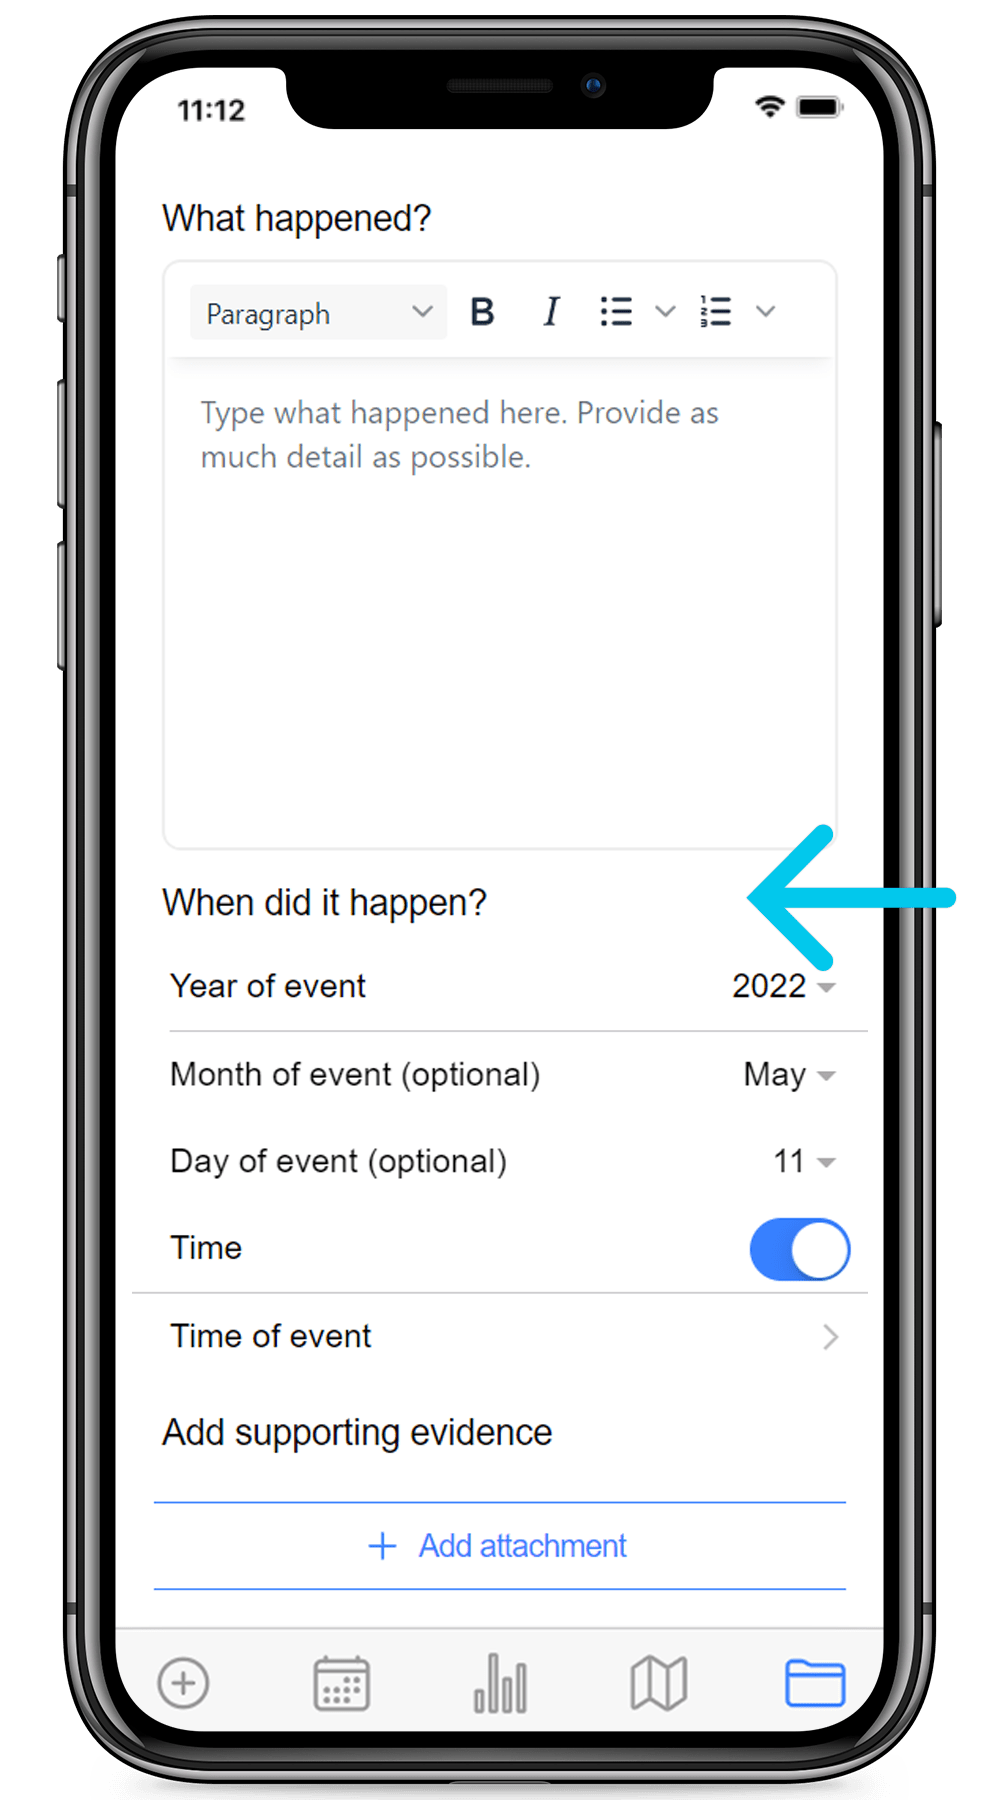
Enter the date and time of the event - not the time you upload it, which is the default. The app records when the record was uploaded but you need the record to be sorted into the right order in the timeline.
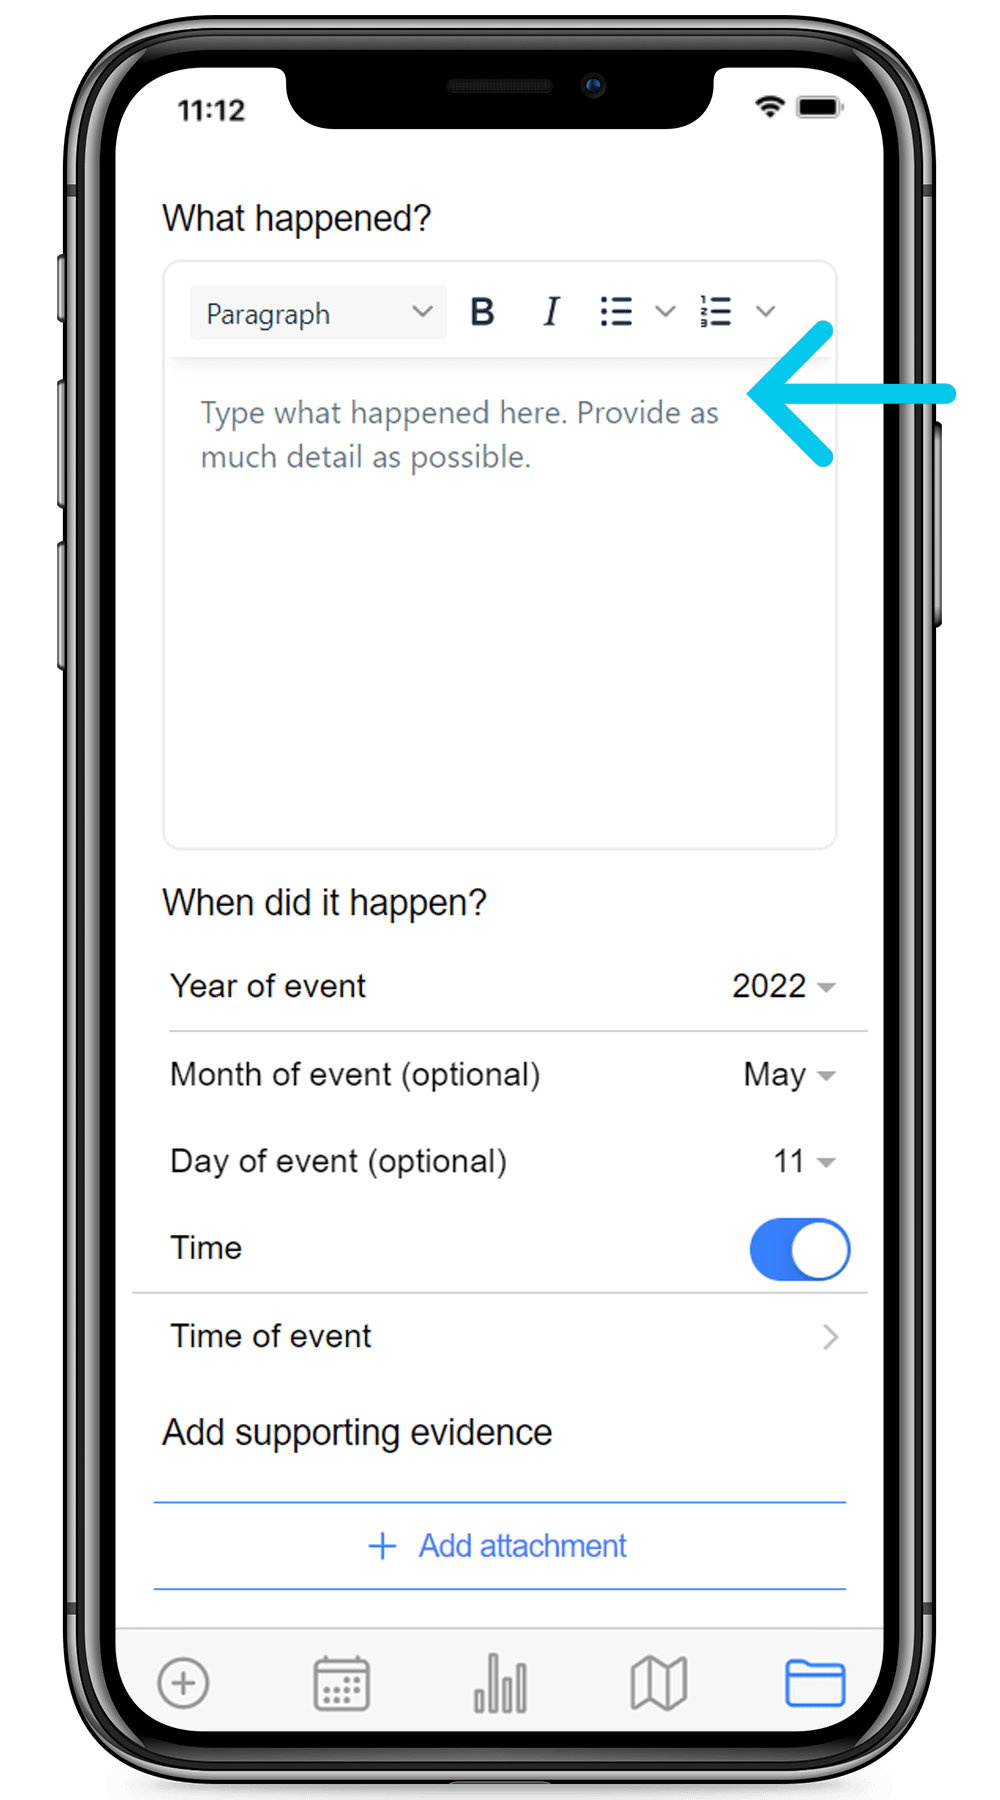
Stick to the facts, include who was there and with what results. Quote the actual words used where possible. Tell the truth and don’t exaggerate. Don’t include the names or contact details of other people who witnessed the event (e.g. bystanders). Make a new label and a new record for these details.
If you have names and contact details of witnesses, make a new label for this information and enter it with the same date time and location as the original record. This enables you to keep some information separate from your account of the event so that you or your lawyer can get statements from witnesses without anyone else talking to them first.
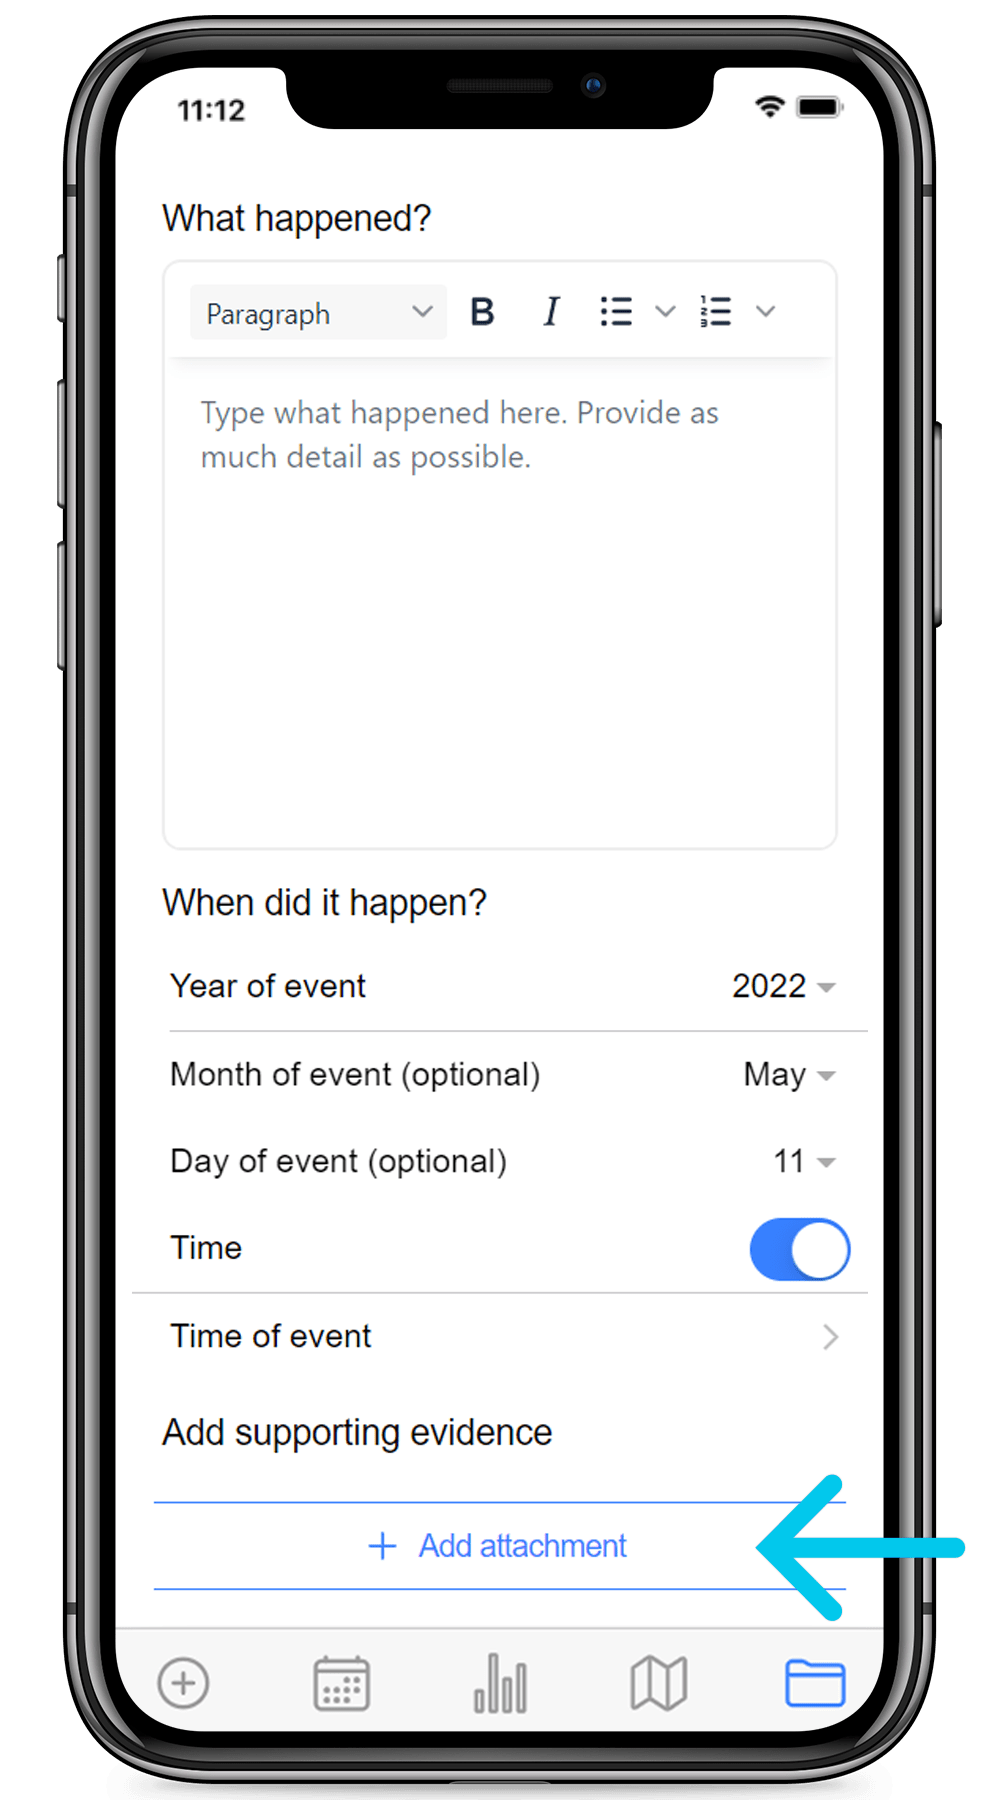
Take a photo or video, add a photo or video from your device, add a document or make an audio recording.
By the way, photos, videos or audio recordings you take within the app will not be stored on your device.
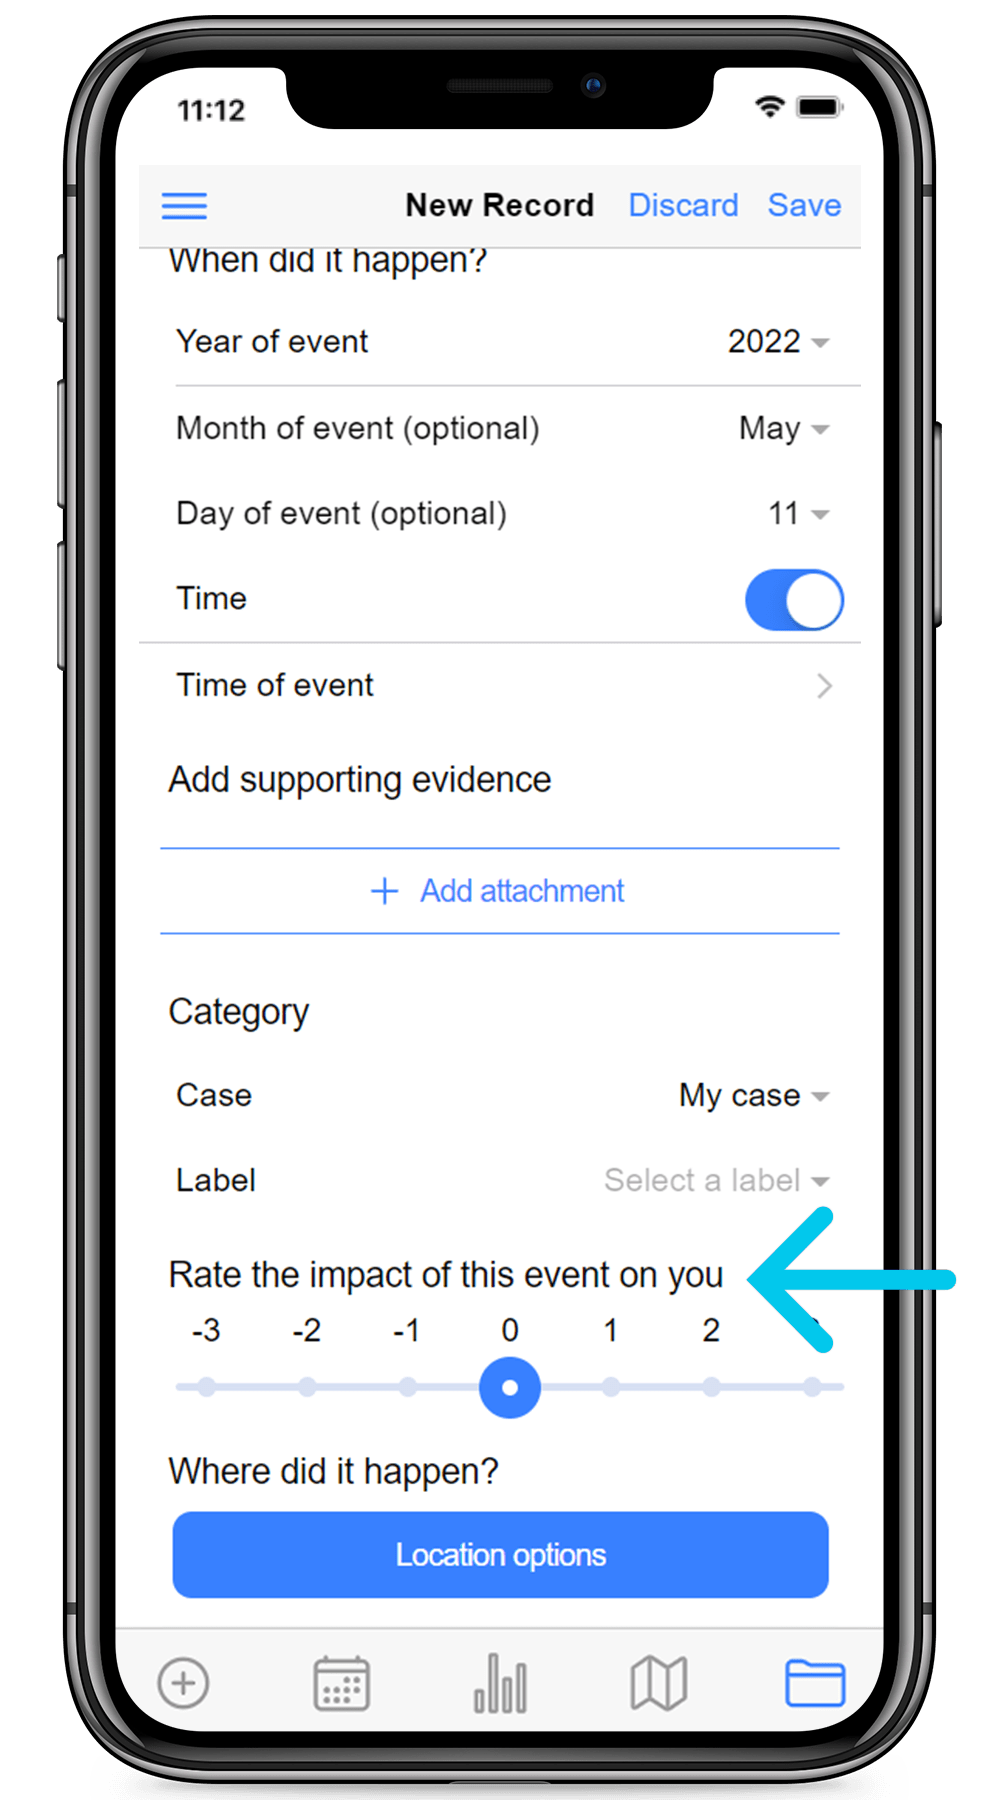
This is a measure of how important or how upsetting the event was. It can apply to the impact on other people as well if you choose. Scoring impact will help you to find the most important events later.
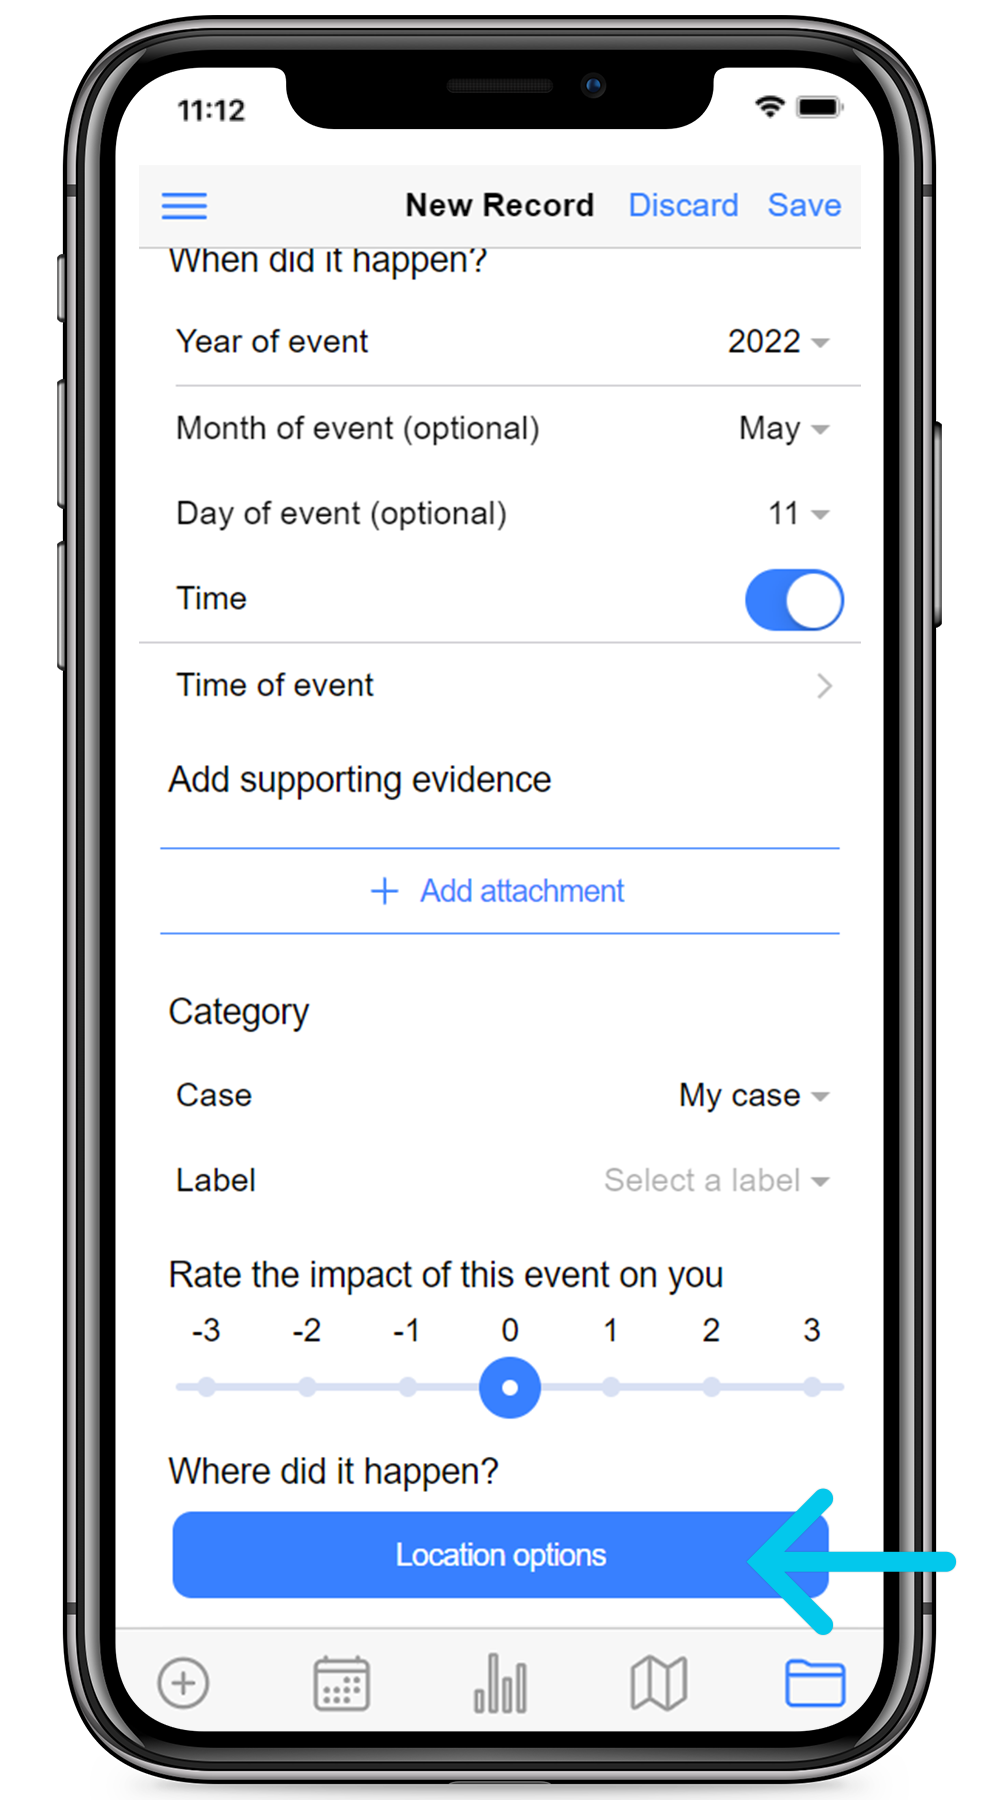
This should be where the event took place which may be important for the credibility of your evidence. If the event was not at your current location, then the app will show that you weren’t there when you uploaded the address.
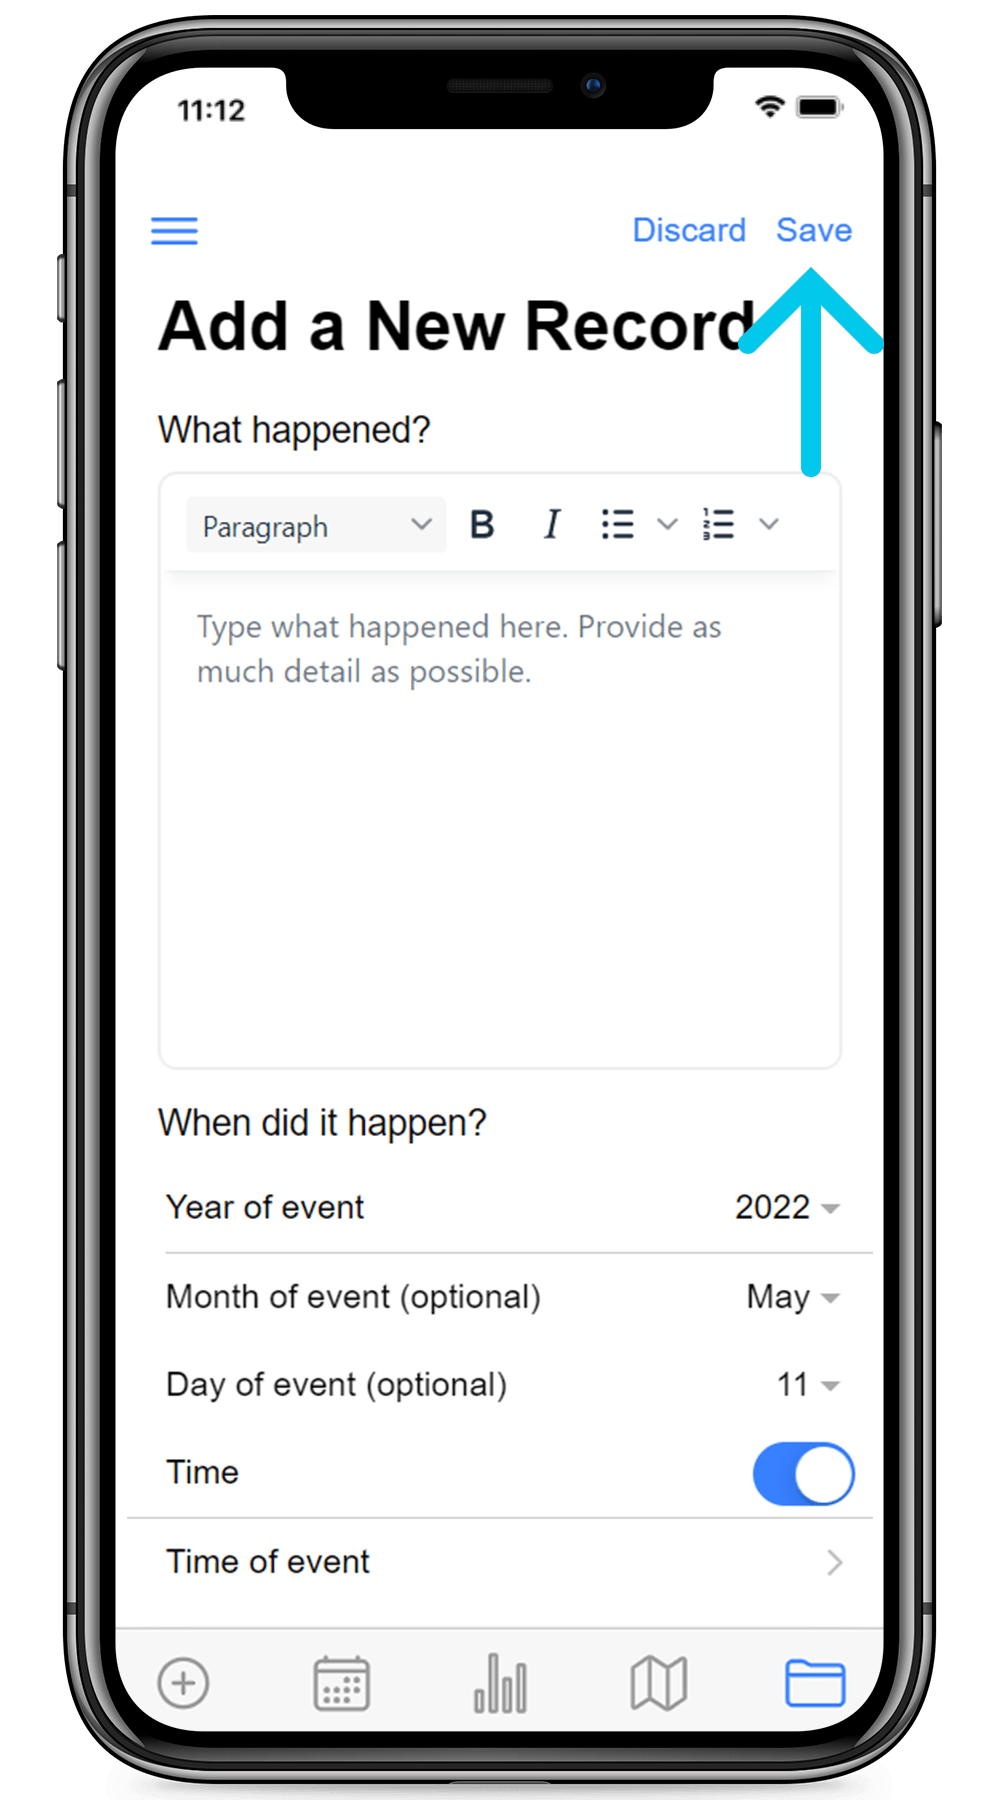
Don’t upload your record until you are sure it’s ready. Once it’s uploaded you won’t be able to change it (this is to save you from undermining the credibility of your evidence). To add or correct information you’ve uploaded, make a new record which is backdated to the same date. You can delete records by logging into the web application on the website.
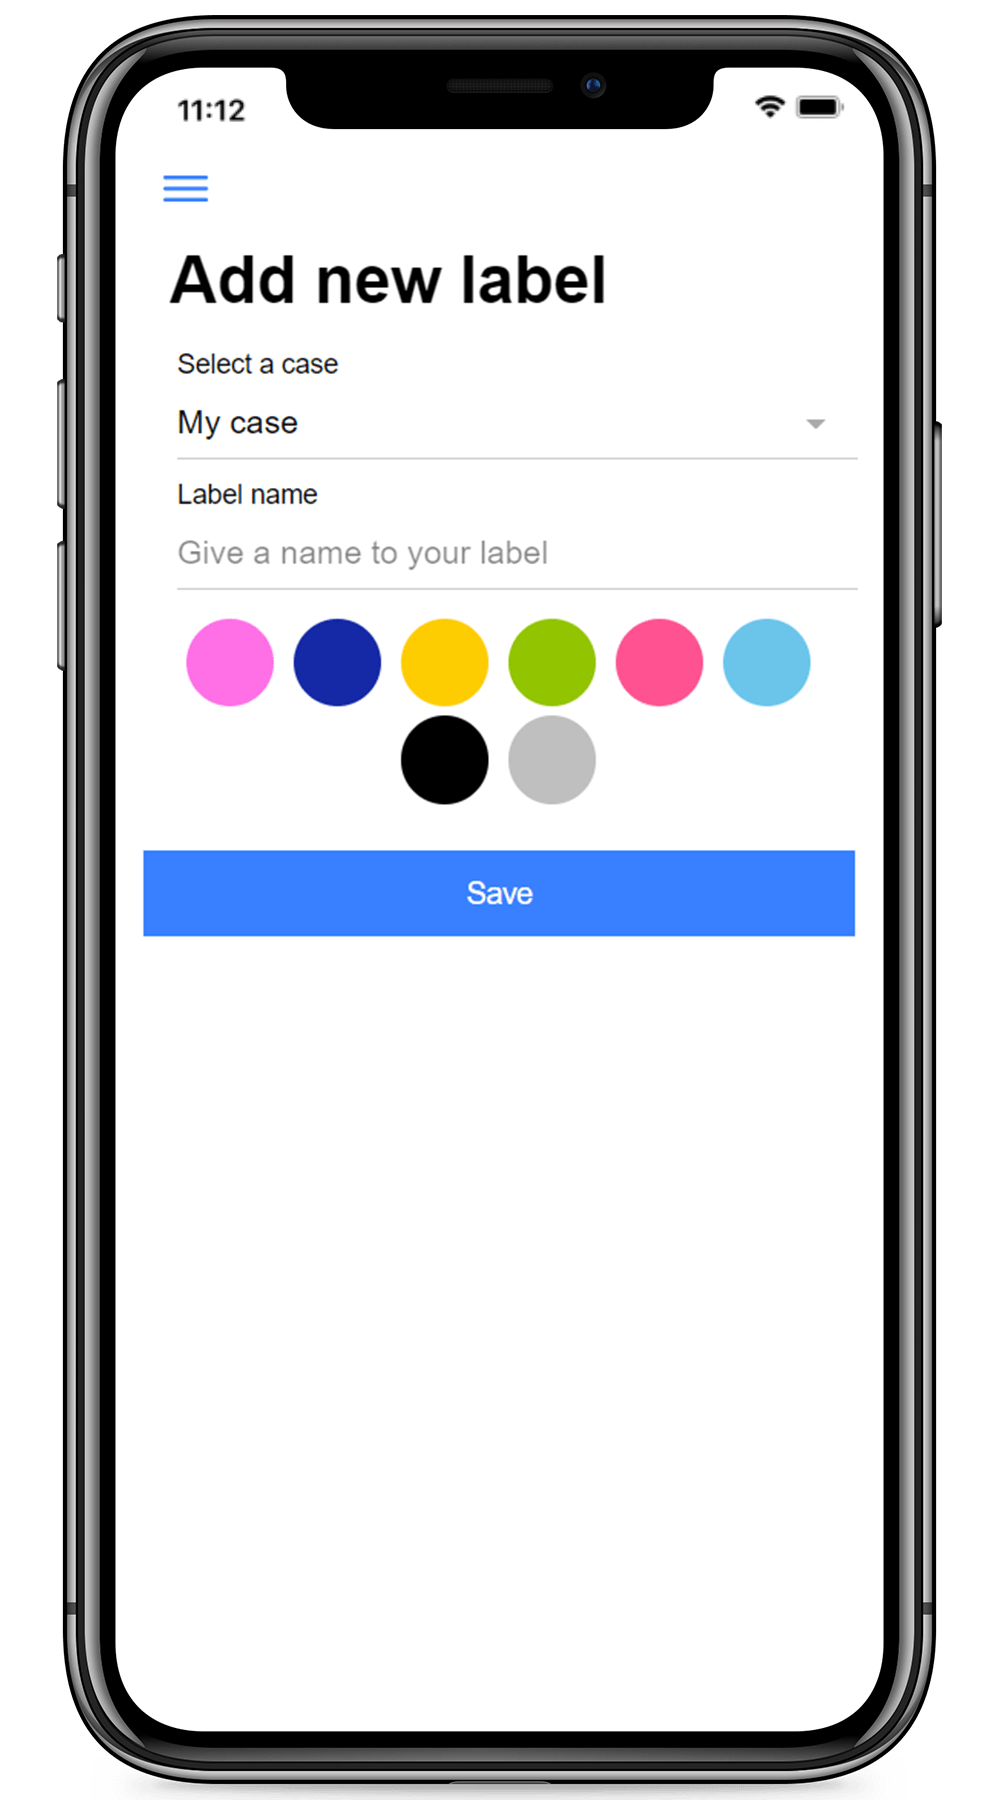
To change a label name or colour, tap on the label name. To add new labels, so as to organise your records under more than one heading, go to the menu and tap ‘New Label’. For example, if you have names and contact details of witnesses, make a new label ‘Witnesses’ for this information.


If you need to change or add to a record, make a new one back-dated to the same date and time with the corrections or additions. This is to protect your evidence from being challenged because it has been tampered with. You can delete records if you log in to the web application.
